About Gridworx
Headquartered in Dallas, Texas, Gridworx occupies a state-of-the-art facility. Sales, research, consulting and production for the United States and Canada are executed from our Headquarters while dealers located throughout North America provide international sales and project support.
Gridworx Advantage
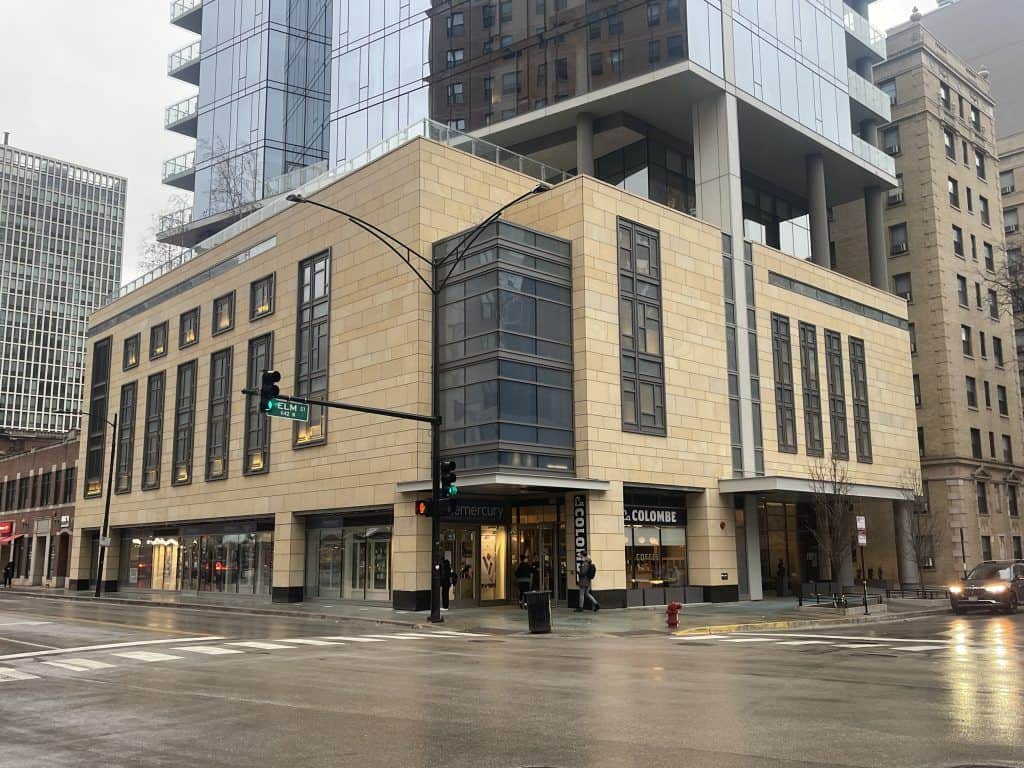
Gridworx is a ventilated, back drop rainscreen cladding system. It is a comprehensive system unlike none other. Gridworx consists of our patented contemporarily designed aluminum channels, choices of hundreds of natural stone and man made cladding materials, in-house architectural support, independent third party engineering and state of the art sales support.
Gridworx Sets the Standard
Gridworx now sets the standard for wall cladding systems by incorporating the natural beauty of stone with its unique and proprietary installation method.
The History of Gridworx & their Stone Panelized Cladding Systems
While working as a stone broker I began selling stone cut for stone panelized cladding systems. Typically, the stones are 3 cm thick weighing 15 pounds PSF. With thin stone cladding systems, architects are able…
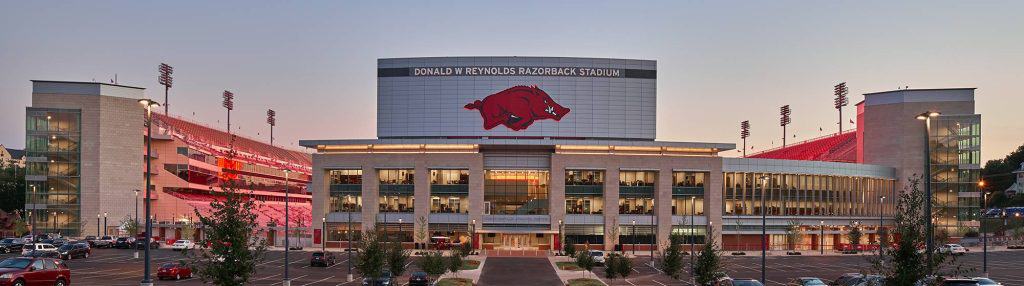
Gridworx Provides Exterior Stone Cladding for Razorback Stadium
Gridworx was honored to work closely with Populous Architecture and Design and Walker Masonry on the Donald W Reynold Razorback Stadium North end zone renovation and expansion project to provide exterior stone cladding. Populous Architecture…
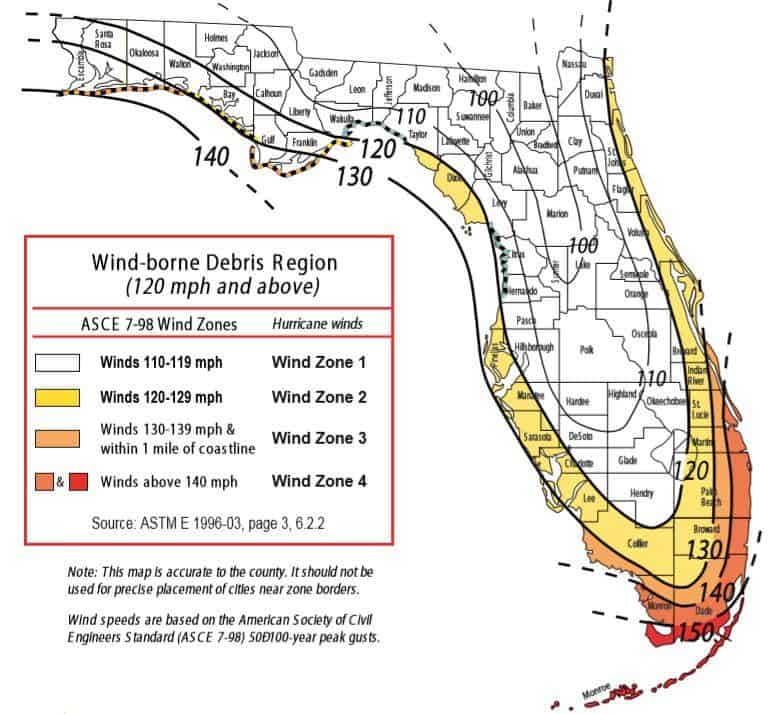
Miami Dade Wind Load Test Blown Away By Dekton With the Gridworx Ultra Stone Cladding System
The Miami Dade wind load test is the most onerous wind test in the United States. The law creating the Florida Building Code was enacted by the Florida Legislature and became effective on March 1,…
Our Partners


Our Partners

![]()